


AI Form Assistant
The AI Form Assistant lets you quickly generate and modify forms using artificial intelligence. Learn how to enable and configure it below.
Features
The AI Form Assistant includes:
- Intelligent form generation: Build forms from natural language descriptions
- Form modification and optimization: Analyze existing forms and suggest improvements
- Streaming conversation: See the AI's thinking process in real-time
- Message history: Auto-save conversations with clear and restore support
Enable AI Form Assistant
To use the AI Form Assistant, you'll need an API token. Here's how to set it up in your Vue project:
Basic Configuration
Set config.ai.token to enable the AI Form Assistant:
<template>
    <fc-designer ref="designer" :config="config" />
</template>

<script setup>
const config = {
    ai: {
        token: 'Bearer fc-d8ed***************ffab0'  // Get a valid token from the official website
    }
}
</script>Note: Get your API token from the official website.
Self-hosted Deployment
Deploy the AI Form Assistant on your own server using our open-source FormCreate AI Form Assistant project.
Support Open Source
If this project is helpful to you, please give us a ⭐ Star on GitHub! Your support is our motivation for continuous improvement!
Installation and Deployment
1. Clone the Project
# Clone the project
git clone https://github.com/xaboy/form-create-assistant/

cd form-create-assistant

# Install dependencies
pnpm install
2. Configure Environment Variables
Create a .env file (optional):
# Service port (default: 3001)
PORT=3001

# Default Agent type (default: deepseek)
# Options: deepseek, zhipu, qwen, other
DEFAULT_AGENT=deepseek

# Default model (default: deepseek-chat)
DEFAULT_MODEL=deepseek-chat

# Default API key (optional, used when Authorization header is not provided in the request)
DEFAULT_TOKEN=your-api-key-here

# Custom API endpoint for Other Agent (for custom OpenAI-compatible interfaces)
AGENT_API=https://api.example.com/v1/chat/completions

# Agent request timeout (milliseconds, default: 180000, i.e., 3 minutes)
AGENT_TIMEOUT=180000
3. Start the Service
# Run directly using tsx
pnpm start
The service runs on http://localhost:3001 by default.
Designer Configuration
Once deployed, configure the self-hosted AI service URL in the designer:
<template>
    <fc-designer ref="designer" :config="config" />
</template>

<script setup>
const config = {
    ai: {
        // Self-hosted service URL
        api: 'http://localhost:3001/api/chat/completions',
        // API key (optional if DEFAULT_TOKEN is set on the server)
        token: 'Bearer your-api-key-here',
    }
}
</script>
Supported AI Services
DeepSeek (Default)
- Agent Type:
deepseek - API Endpoint:
https://api.deepseek.com/v1/chat/completions - Get API Key: DeepSeek Website
ZhipuAI
- Agent Type:
zhipu - API Endpoint:
https://open.bigmodel.cn/api/paas/v4/chat/completions - Get API Key: ZhipuAI Open Platform
Qwen (Tongyi Qianwen)
- Agent Type:
qwen - API Endpoint:
https://dashscope.aliyuncs.com/compatible-mode/v1/chat/completions - Get API Key: Alibaba Cloud DashScope
Custom OpenAI-compatible Interface
- Agent Type:
other - API Endpoint: Set via
AGENT_APIenvironment variable - Use Case: Self-hosted services with OpenAI-compatible APIs
Example Configuration:
# .env
DEFAULT_AGENT=other
AGENT_API=https://api.example.com/v1/chat/completions
DEFAULT_TOKEN=your-custom-api-key
API Key Configuration
You can provide API keys in two ways:
- Request Header (Recommended)
Set the token in your designer configuration:
const config = {
    ai: {
        api: 'http://localhost:3001/api/chat/completions',
        token: 'Bearer your-api-key-here'
    }
}- Environment Variable (Optional)
If no API key is provided in the request, the system uses DEFAULT_TOKEN from the server's .env file.
Note: Request header tokens take priority. If no token is in the request header, DEFAULT_TOKEN from environment variables is used.
For more details, see FormCreate AI Form Assistant.
Usage Examples
The AI Form Assistant can generate and modify forms based on your requirements. Here are some common use cases:
Basic Form Generation
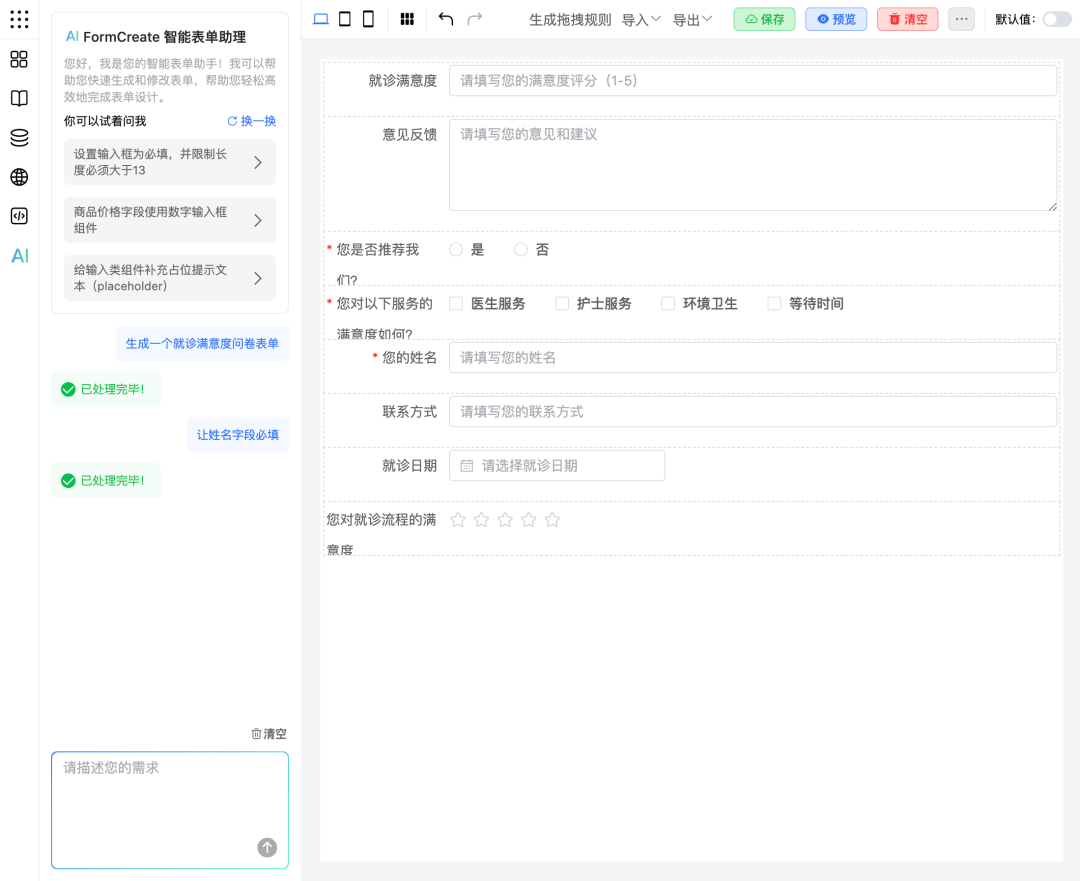
- Generate a medical visit satisfaction survey form
- Create a suggestion form with contact name, email, category, and content fields
- Add a user information form
Component Operations
- Add a tag component labeled "Tag"
- Delete the product description field
- Change the product price field to a number input
Conditional Logic
- Show an input when radio button selects "Option 1"
- Auto-calculate age from birth date
- Auto-calculate total price from unit price and quantity
Validation Rules
- Make input required with minimum length of 13
- Add phone number format validation
- Add validation: confirm password must match password
Style Optimization
- Add placeholder text to input components
- Display name and phone number on the same row
Advanced Features
- Generate a Vue component for an amount input field
- Generate a high-precision addition function in JavaScript
Best Practices
1. Clear Instructions
Recommended Approach:
Generate a user registration form with:
- Username (required, 3-20 characters)
- Email (required, email format validation)
- Password (required, at least 8 characters)
- Confirm Password (required, must match password)
- Phone Number (optional, 11 digits)
Avoid:
Create a registration form2. Step-by-step Operations
For complex forms, break it down:
- Generate the basic form structure first
- Add validation rules next
- Adjust styles and layout last
3. Leverage Context
The AI remembers previous conversations. You can:
User: Generate a product information form
AI: Generated a form including product name, price, and description


User: Add a stock field
AI: Added a stock quantity field
4. Error Handling
If the AI's output doesn't match your needs, try:
- Stating the issue directly: "This field should be a number type"
- Requesting specific changes: "Make the price field required"
- Redescribing: "I need a dropdown, not an input field"
Conversation Management
Message Operations
- Copy: Click the copy button in the message's bottom-right corner
- Delete: Click the delete button in the message's bottom-right corner
- Clear conversation: Click the clear button in the AI panel header
History
- Conversations are auto-saved to local storage
- Previous conversations restore after page refresh
Thinking Process
For complex requests, the AI shows its thinking process:
- Analyze requirements - Understand what you need
- Generate solution - Create an implementation plan
- Execute operation - Modify the form
- Verify result - Check the output
The AI Form Assistant saves time and helps you build forms that meet your business needs.
Hide AI Module
Hide the AI module by setting config.showAi = false:
<template>
    <fc-designer ref="designer" :config="config" />
</template>

<script setup>
const config = {
    showAi: false  // Hide AI module
}
</script>
With these settings, you can customize the AI Form Assistant for your needs. It provides intelligent support while staying flexible for different scenarios.